A drone gives you a view most people never see. But a great angle alone won’t make a great photo. These drone photography tips cover the light, composition and settings that turn snapshots into images people actually stop to look at.
You don’t need an expensive setup to use them. Most of these techniques work with any drone that shoots RAW photos and lets you adjust exposure manually.
Plan Around the Light
1. Fly at Golden Hour
The hour after sunrise and before sunset gives warm, soft light and long shadows. Shadows add depth, which flat midday light kills.
2. Use Midday for Top-Down Shots
Harsh overhead light isn’t all bad. It’s great for straight-down shots of beaches, pools and patterns, where shadows would get in the way.
Compose Like a Photographer
3. Look for Patterns and Lines
From above, roads, rows of crops, waves and rooftops become shapes. Leading lines pull the eye through the frame.
4. Try the Top-Down View
Point the camera straight down at 90 degrees. It turns ordinary scenes into abstract art and is the shot that feels most “drone”.
5. Don’t Always Fly High
Some of the best aerial shots are taken at 10 to 30 metres. Low altitude keeps a sense of scale and shows detail.
6. Add a Subject
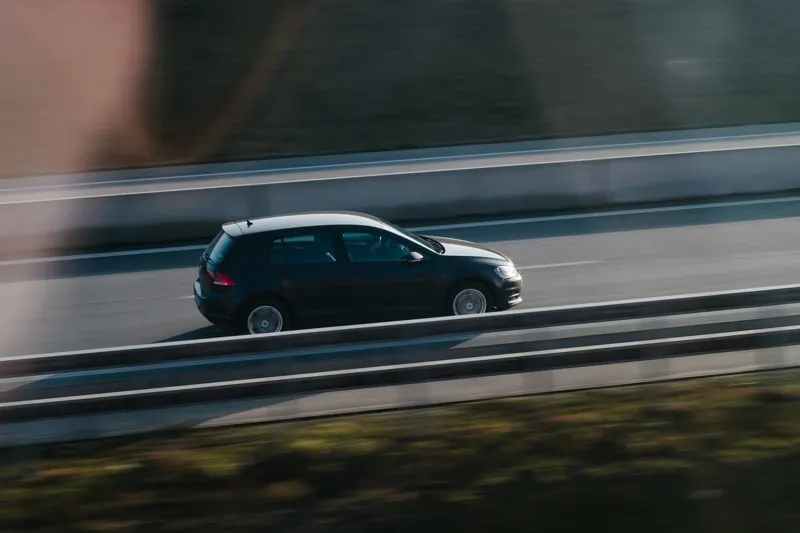
A person, boat or car gives the viewer something to focus on and shows how big the landscape really is.
Get Your Camera Settings Right
7. Shoot in RAW
RAW files keep far more detail in the sky and shadows. You’ll be glad you did when you edit.
8. Keep ISO Low
Small drone sensors get noisy fast. Keep ISO at 100 where you can, and only raise it when the light drops.
9. Bracket High-Contrast Scenes
Use auto exposure bracketing (AEB) at sunrise and sunset. You can blend the frames into one image with detail in both the bright sky and dark ground.
10. Use ND Filters for Video
Neutral density filters let you use slower shutter speeds in bright light for natural-looking motion blur. A common rule is a shutter speed of about double your frame rate. For smooth cinematic video, that matters a lot.
| Situation | Suggested setting |
|---|---|
| Bright daylight photo | ISO 100, 1/500 s or faster |
| Golden hour photo | ISO 100, bracket 3 to 5 shots |
| 4K video at 30 fps | 1/60 s shutter with ND filter |
| Low light | ISO 400 max, tripod mode |
Fly Smoothly
11. Hold Still Before You Shoot
Let the drone settle for a second or two after each move. Even small vibrations show up in long exposures. If you’re still building stick skills, start with how to fly a drone for the first time.
Finish in the Edit
12. Edit Lightly
Lift shadows, pull back highlights, add a touch of contrast and straighten the horizon. Avoid heavy saturation, since aerial photos already have strong colour.
Gear That Helps
A camera with a larger sensor makes every tip above work better. The Skysdrone camera drone is built for this kind of work. RAW photos and high-bitrate video also fill memory cards quickly, so check your needs with the video storage calculator. If you want to map or measure rather than just photograph, try the ground sample distance calculator.
Stay Legal and Respectful
Don’t fly over crowds or photograph people in private spaces. Rules vary by country, so check the drone law checker before trips abroad.
Turn Skills Into Income
Good aerial photography is in demand for real estate, events and tourism. Read how to make money with a drone if you’d like to go further. And if you love dynamic, fast footage, compare styles in camera drone vs FPV drone.